For the times when it’s time to stop planning and start doing, resource management reports are generated and brought out on the table. It could be for archive filing purposes, for presenting to a board of investors, for briefing your team or informing the finance department to issue out paychecks according to the hours that your team has worked.
How Ganttic Makes Reporting Simpler
Even though reporting is the key to improving resource management, calculating costs, and getting a quantitative overview of what’s going on, there’s a flip side. For many managers, it’s cumbersome. And it adds yet another tag to your mailbox.
From collecting the data to preparing the actual report, and then sending it out to whoever needs to see it, reporting adds noise to our lives. Not to mention it’s repetitive. And takes away valuable time that could be spent on things that simply cannot be done by anyone else.
That’s where resource management software comes in.
Types of Reports in Ganttic
By default, new Ganttic reports are task-driven. But customization is always an option of course. Here’s the different types of reports you can create in Ganttic.
- Task – excludes any resources and project that do not have any tasks in the time period you have chosen for your report.
- Resource – includes all the resources, even if they do not have any tasks.
- Project– includes all the active projects, even if they don’t have any tasks in that particular time period.
How to Create a Report in Ganttic
The report feature is one of our users’ favorites. Below are the steps to creating a report, you will see how it can provide value for resource planning needs of all kinds.
1. Click on ‘Report’ from the Add New menu for the quickest way to add a new resource planning report. Find the Add New button on the left corner of the planner and in the Reports list.
2. A new tab will pop up. Name your report on the top of the tab.
3. The Report fields tab is where you customize the data in your report by selecting data fields into sorting levels. The data fields are categorized as task data, project data and resource data. Drag and drop the data labels to either grouping or details level.

Above is how it looks like when you have the customizations set and clicked ‘Apply’. Your report will have your data generated according to your grouping level and details level.
4. If you want to use the report you have created as a template, do not forget to Save the report.
How to Print Reports in Ganttic
Click on Print to print your report directly from the planner. The format of the print will look as above. You can also follow the instructions for printing reports in our Help Desk.
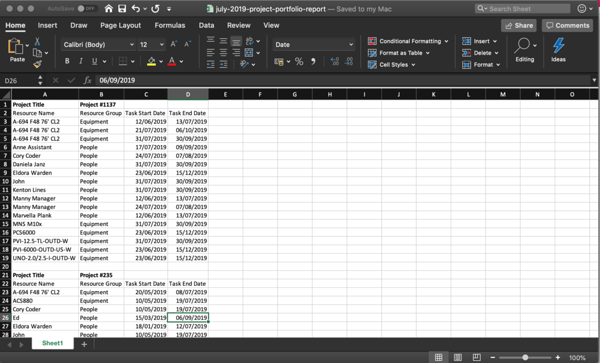
How to Export Reports as CSV in Ganttic
Click on Save as CSV to download it in CSV. It will be exported into the format above – plain text distributed across columns and rows. You can also follow the instructions for exporting reports in our Help Desk.
How to Save a Report as a PDF
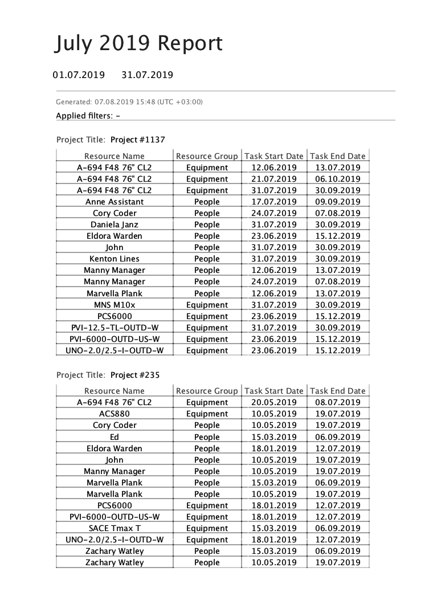
Saving as PDF will appear in the structure above, similar to the report format on the planner itself. You can also follow the instructions for saving reports as PDF in our Help Desk.
Report Templates
To open up an existing resource planning report template, click on the Reports button. All the templates you have saved will be displayed in a list. You can open any template and update the date selection to generate a new and up-to-date report.

How to Create an Automatic Report
Furthermore, you can automate the reporting process and receive the report in your mailbox whenever you need it – daily, weekly or monthly. You can also send the report to any of the stakeholders.
Ready Those Reports
To give Ganttic’s report a try, sign up for a free 14-day unlimited account. When your trial expires, if your resource count is under 10, your account remains free. And if you still have questions about reporting, reach out to support or sign up for a free one-to-one demo call. We’ll walk you through the process together.
What are you waiting for?